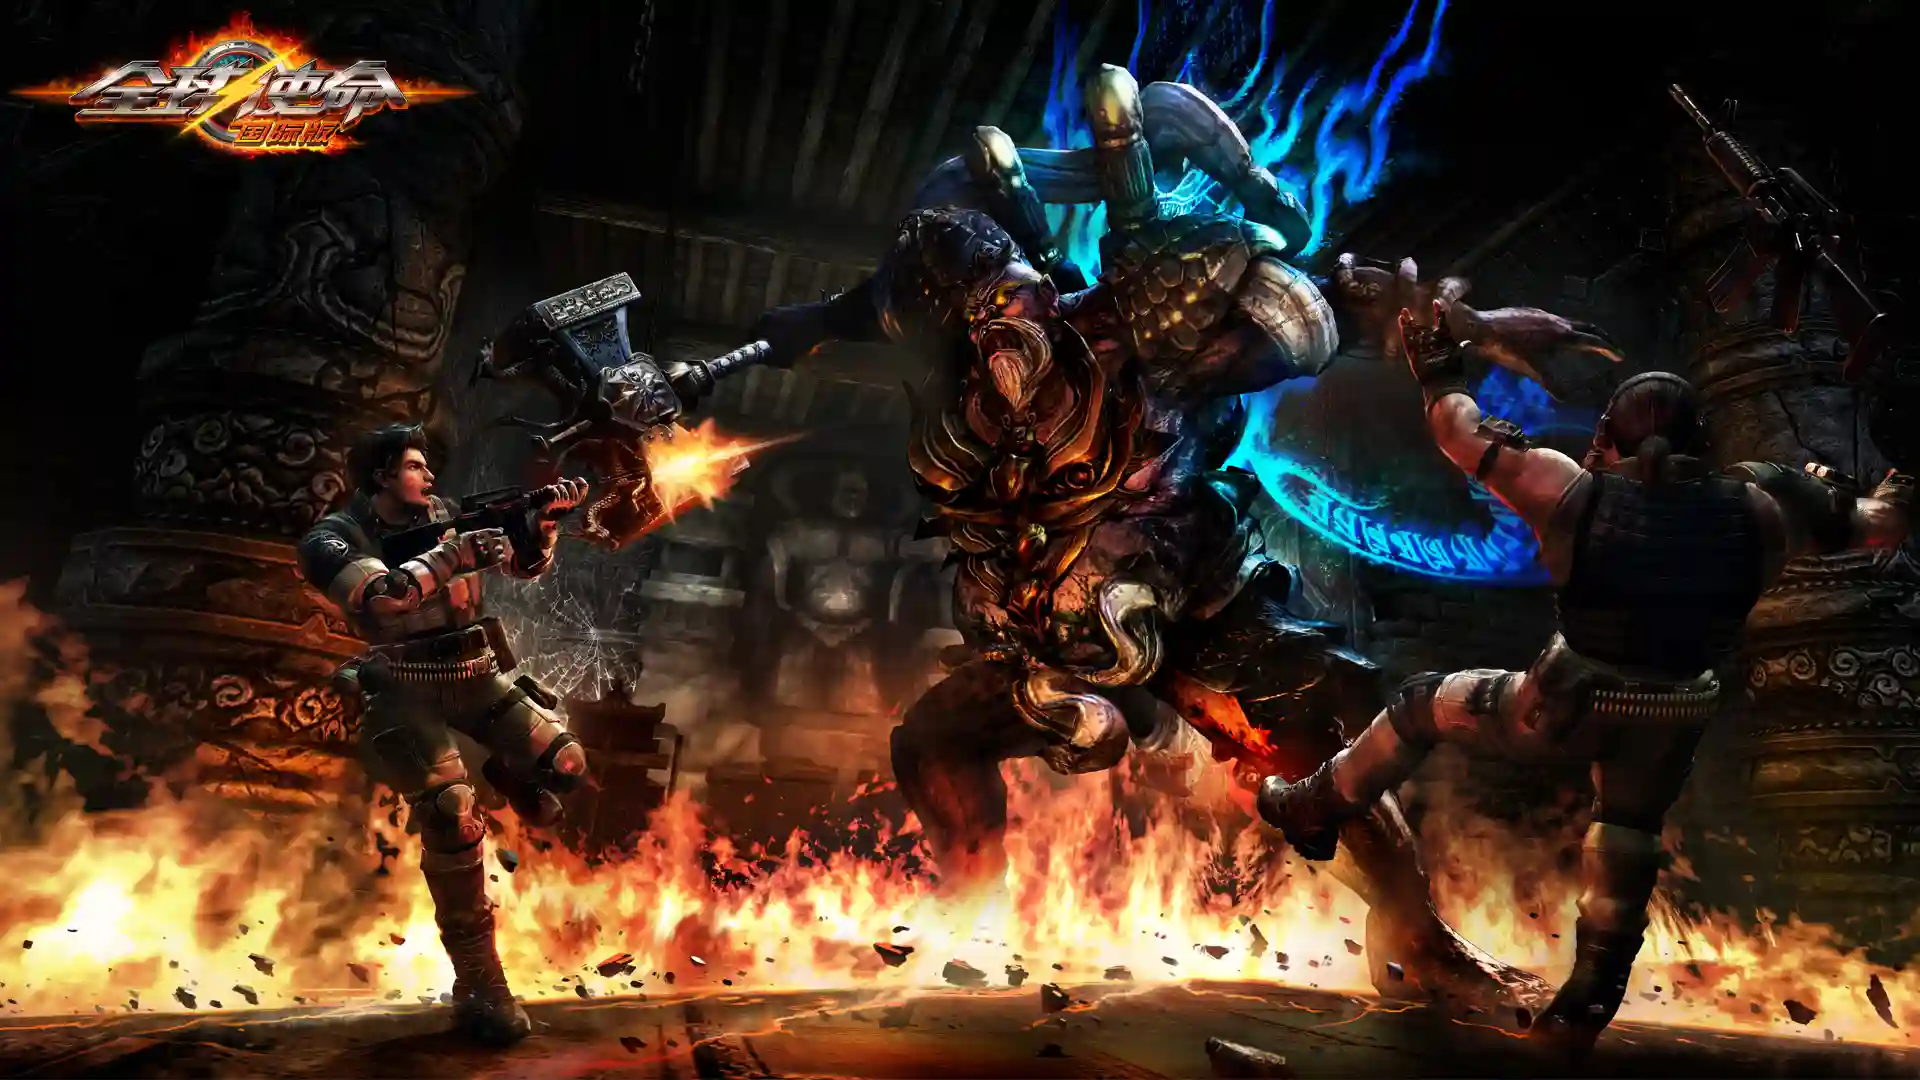
Global Mission 3: Peak War Layer 12 Guide
Peak War is a multi-layer, objective-driven PvE gauntlet inside the third-person shooter Global Mission 3. Runs are time-pressured, ramping difficulty, and coordination-heavy. You progress layer by layer (no skipping), with rewards and seasonal progression tied to how deep you go and how cleanly you execute. The official game hub describes the series as a full-view third-person PvE shooter with extensive systems for devices, “cloud stones” (progression augments), and hero-like companions called Phantom Agents.
Recent guides emphasize that Peak War is designed for four players and mixes “protect, intercept, collect, and push” objectives rather than pure wave clear. Failing a key objective (for example, allowing a tagged special to reach a zone) can end the layer regardless of your raw DPS. That structure is consistent across editorials and official strategy notes.

Pre-run checklist (15 minutes)
1) Role archetypes and default lanes
- Interceptor (1): Spots and deletes fast “marked” targets first. Holds mid-lane sightlines and anchors emergency slows or stuns.
- Suppressor (1–2): Clears trash, staggers elites, and keeps lanes breathable. Prefers stable mid-to-long weapons with forgiving recoil.
- Flex (1): Solves problems: back-spawns, late elites, and objective interactions. If someone must rotate, it’s you.
2) Weapons and “cloud-stone” logic
Build for reliable lane control first, burst second. Primary should be accurate enough to shred adds at mid-range; secondary can be your high-burst option for elites. For augments, prioritize shield-break, pickup/uptime loops, and sustain so you can stabilize on long pushes. Official materials highlight that these PvE systems are intended to offset enemy resistances and long engagements.
3) Devices: the hidden power budget
Devices are the easiest way to smooth a team’s survival curve. The device compendium lists active tools (e.g., Medical Platform for area healing, Firepower Burst for timed DPS windows, One-Way Forcefield for path blocking) plus passives that always run in the background. Treat actives like “rhythm markers” that define when you push and when you reset. Start conservative: Medical Platform + Firepower Burst for most teams, add Forcefield for high-pressure layers.
4) Phantom Agents: compose a two-core package
Phantoms act as deployable, hero-style power spikes. Current articles and patch-cycle summaries describe varied roles—straight-line burst, lane peel, mobility, and shielding. A practical default is one burst lane-opener + one sustain/peel, then rotate the third slot situationally. Don’t blow all Phantom cooldowns in a single wave; instead, align them with layer-end choke points.

Layer 12, Part A: “Stop the Marked”—objective defense with intercept discipline
Win condition: Prevent marked enemies from reaching the altar/forbidden area. One success by a marked unit can fail the layer; your DPS parse is irrelevant if the objective flips. This mirrors the “no-skip, strong objective failure” design called out in official and strategy sources.
- Set dual crossfires early. Place two perpendicular lanes of fire within sight of the target zone so you’re not forced into last-second, point-blank scrambles. Suppressors hold angles with stable primaries; Interceptor covers the central funnel.
- Make the “Marked call” sacred. When any player tags a marked target—say the color and route (“marked, right stairs”). Everyone priority-swaps within three seconds. If two marked spawn, Interceptor handles the nearer one while Flex stuns or slows the farther.
- Device cadence: Drop Medical Platform on the fallback tile, not the forward tile, so you can retreat through healing rather than standing in place. Keep Forcefield as a 3–4 second emergency barricade if spawns double up; it buys you the burst window. The official device list confirms all three are viable in PvE.
- Phantom timing: Save your strongest line-burst Phantom for multi-lane overlaps, not single trash waves. Layer 12 opens tight; over-committing in minute one leaves you dry a few pulls later. Recent version notes and community write-ups emphasize pacing Phantom usage across segments.
Layer 12, Part B: “Riot Prison”—two-by-two scouting with ambush discipline
Win condition: Navigate a maze-like prison, collect target parts, and avoid getting sandwiched in dead ends. The “collect under pressure” pattern features in multiple Peak War strategy posts and is consistent with the game’s broader PvE mix.
- Split 2-and-2, move counter-clockwise. Each pair should include one control-heavy player and one reliable DPS. Pairs call turns before corners and check flanks every 10–12 steps to stop backstabs.
- Assign the Flex to interact. Levers, doors, and pickups are Flex’s job, since this player is already trained to reposition. Suppressors cover the interaction angle, then leapfrog forward once objectives are secured.
- Conserve Phantoms here. Unless you’re about to be pinned in a cul-de-sac, avoid dumping big cooldowns in Prison. Save them for the Pursuit choke, where clean lane-breaking matters most.
Layer 12, Part C: “Pursuit”—push through, don’t over-clear
Win condition: Reach the designated area quickly while surviving ambushes. You’re not meant to full-clear every spawn. Community and press guidance around Peak War’s moving objectives stress mobility and timing over total kills.
- Play the “hop-point” rhythm. Move from cover to cover: point → cover → point. Do not pause for trickle spawns unless a marked unit appears. Interceptor keeps eyes up for fast movers; Suppressors clean only what blocks the next hop.
- Pre-cast devices to meet you at the door. Throw Firepower Burst and set Medical Platform 2–3 seconds before you breach the choke, not after you’re already inside. That gives you a buffered entry and lets your burst land while enemies are still clumping. The device catalogue lists both as cornerstone PvE tools.
- Save Phantom opener for the final turn. The last corner before the target zone is usually the ugliest. Pair a lane-opening Phantom with a grenade or forcefield funnel to erase the front rank, then sprint the team through together. Contemporary coverage of new Phantoms and seasonal updates consistently frames them as “lane makers,” not just damage pads.
Callouts you can copy into voice chat
- “Marked right—three seconds, swap!” Everyone abandons trash to delete the threat.
- “A on push, B on retreat.” Map your two device spots; never stack both in one place.
- “Hop points only—don’t farm.” In Pursuit, the goal is arrival, not body count.
- “Open lane—Phantom now!” Use the Phantom to create the sprint window, not to pad damage.
Phantom Agents: from “can equip” to “can carry”
Seasonal articles and update notes highlight a rotation of Phantoms—some new, some re-balanced—with roles ranging from straight-line burst to shielding companions like guard-dog variants. Treat them as team tempo tools: one to open space, one to sustain, potentially a third for niche control. If your squad keeps dying with ults held, schedule Phantom usage by segment: one for Stop the Marked overlaps, one for the last Prison turn, one for the first Pursuit breach.

Devices, succinctly
- Medical Platform: Put it on the retreat path, not the forward edge.
- Firepower Burst: Time it for choke entries or marked-double waves.
- One-Way Forcefield: Emergency lane block to buy four seconds of clean shots.
- Other actives/passives: Use niche picks only after the core trio feels automatic. The official device page details active vs. passive slots and upgrade paths.
Progression: turning “one clear” into “always clears”
- Mechanics before mats. Train the trio—call → swap → reset—until it’s reflex. Most Peak War wipes are objective, not numbers. Strategy posts and official write-ups both stress objective discipline.
- Refine your loops. Tune cloud-stones for shield-break and pickup cadence so you spend less time scrounging and more time holding angles. The device/augment ecosystem is designed to reduce attrition.
- Script devices by tile. Name your push and retreat tiles before pulls—“A” for entry, “B” for reset—and rotate them every wave so cooldowns align with spawn pacing.
Frequent mistakes and fast fixes
- Tunneling on DPS. If a marked unit slips through, the parse doesn’t matter. Fix: hard-rule that marked callouts override all actions.
- Stacking devices. Blowing two actives in the same footprint creates dead airtime later. Fix: pre-assign “push vs. retreat” device spots.
- Over-clearing in Pursuit. You’re graded on arrival. Fix: hop-point rhythm, clear only what blocks movement.
- Misaligned Phantoms. Bursting a throwaway pack wastes your big button. Fix: schedule by segment and choke, not by cooldown. Coverage on Phantom updates repeatedly frames them as tactical, not cosmetic.
TL;DR route card for Layer 12 (paste this into your notes)
- Stop the Marked: Two crossfires on the altar lane; marked callout = three-second swap; heal on retreat tile; forcefield for overlaps.
- Riot Prison: Split 2-2, counter-clockwise sweep; Flex interacts; save Phantoms unless pinned.
- Pursuit: Hop-point movement; pre-cast Burst and Platform; Phantom opens final corner, then all sprint through.


